The UK's largest tool hire network
Everything you need. Online. On Time.

Serving over 2,000,000 visitors per year, we provide access to more than 200 of the UK's top-rated national and regional equipment hire companies in one place. We only work with trusted suppliers, including Speedy Hire, Sunbelt Rentals, Travis Perkins, and Alliance Tool Hire. They allow us to offer the widest choice, greatest availability, and best pricing in the UK. We provide all this through the simplest booking system in the industry. We’ve done the legwork for you!


Serving over 2 million visitors per year, we provide access to more than 200 of the UK's top-rated national and regional equipment hire companies in one place. We only work with trusted suppliers, including Speedy Hire, Sunbelt Rentals, Travis Perkins, and Alliance Tool Hire. They allow us to offer the widest choice, greatest availability, and best pricing in the UK. We provide all this through the simplest booking system in the industry. We've done the legwork for you!
Ideal for Repair & Domestic Work
DIY & Trade | Save 43% | Best Availability

FREE Delivery
Ideal For Domestic Projects
DIY & Trade | Save 57% | Best Availability

FREE Delivery
Ideal for Domestic or Commercial Use
DIY & Trade | Save 48% | Best Availability

FREE Delivery

For Drying & Controlling Moisture
DIY & Trade | Save 45% | Best Availability

FREE Delivery
For Cordoning Off Work Areas
DIY & Trade | Save 40% | Best Availability

FREE Delivery
Strong Traction For Challenging Surfaces
DIY & Trade | Save 17% | Best Availability
_4250_260x260.jpg "Skyjack SJ46AJS 16m Diesel Articulating Boom Lift")
Low Cost Delivery


Extended Lengths of 4m to 9m
DIY & Trade | Save 49% | Best Availability

FREE Delivery
DIY or Trade. Insurance Provided.
DIY & Trade | Save 53% | Best Availability

Low Cost Delivery
Adjustable Steel Supports
DIY & Trade | Save 52% | Best Availability

FREE Delivery
Working Heights of 3.2m to 14.2m
DIY & Trade | Save 43% | Best Availability

FREE Delivery
For Branches Up To 3inch Diameter
DIY & Trade | Save 36% | Best Availability

FREE Delivery
Two Machines at a Lower Rate
DIY & Trade | Save 63% | Best Availability

FREE Delivery

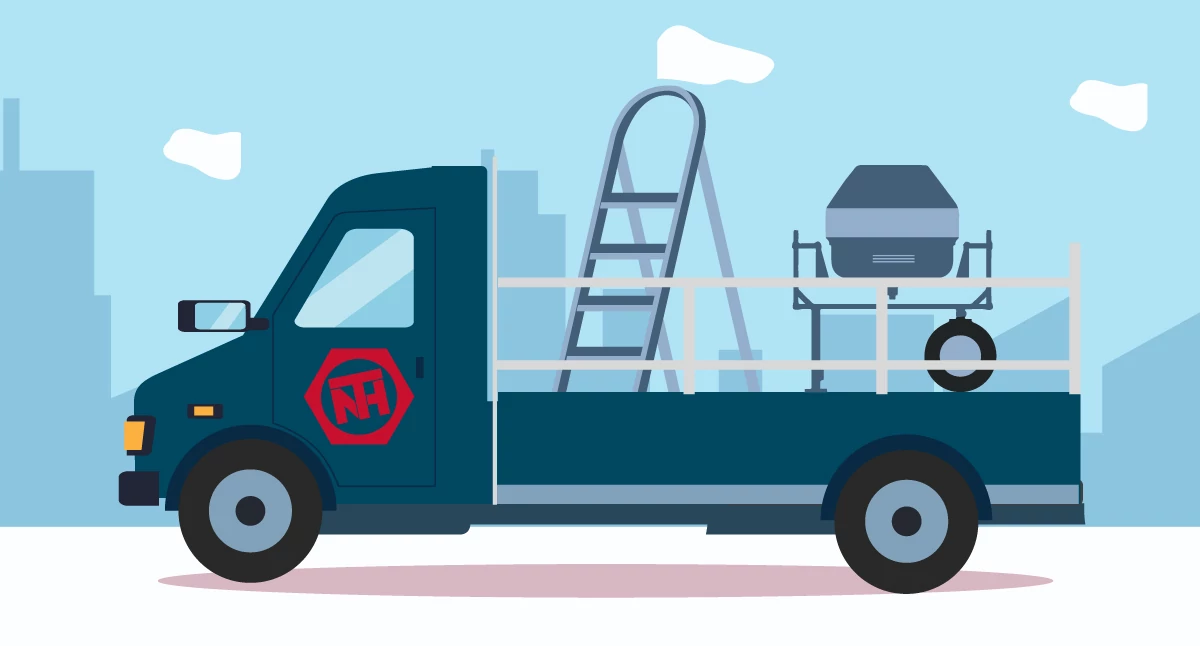
A Huge Product Range Available for Delivery & Collection OR Click & Collect
National Tool Hire provides customers access to a wide range of equipment. Everything on our site is available for trade and DIY, perfect for personal or professional jobs. We are an intermediary which offers the largest catalogue of hire tools and plant equipment.
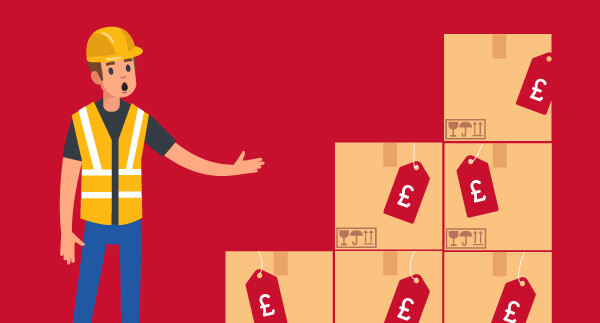
Our catalogue features thousands of products with over 2,000,000 items in stock. You cannot match this product range anywhere. We make it quick and easy to find what you need, then book and pay online within minutes.
We work with so many outstanding suppliers — some of the best in the UK. We do the legwork so we can offer you the best hire rates with flexible options. We deliver quickly and collect when you are ready free of charge (excluding plant and powered access). Our partner stores give us access to over 2,000 click and collect locations. So basically, we can supply everything you need, online, on time.