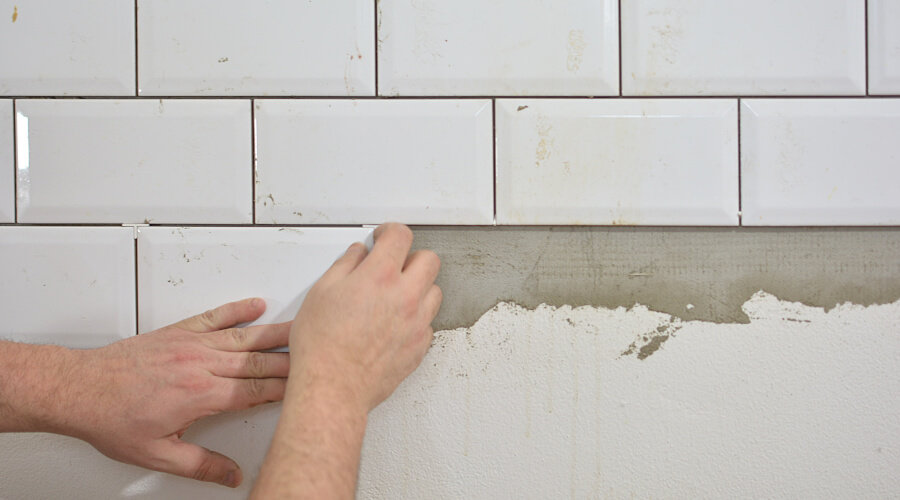
Tiling the walls or floors in your bathroom or kitchen provides a practical, hygienic and easy to clean surface. However doing your own tiling also gives you the freedom to be as creative as you would like - you can give your home a look that is exactly to your tastes.
Whether you are tiling a kitchen floor or a bathroom wall, it just takes the right equipment and a bit of know-how for anyone to be able to do the tiling themselves as a DIY project.
Our top tiling tips are designed to help you to advance your tiling skills, so you can give your bathroom or kitchen tiling that professional finish.
Use the right tools for the job
Before beginning your tiling project, you should ensure that you have everything you need in order for the job to run smoothly. This obviously includes all of the tiles that you will need, adhesive and grout. This also includes reliable, high quality tiling equipment that is appropriate for the job.
For example, before installing some tiles, you will need to cut them accurately, precisely and safely so that they fit to the size and shape of the wall or floor surface.
If you are cutting small ceramic or porcelain wall tiles, you will need a manual tile cutter. This will allow you to make accurate and precise cuts quickly, conveniently and safely.
If you are using larger and thicker natural stone tiles, you will need an electric tile cutter or ‘wet tile cutter’. These powered tile cutters provide a fast and convenient way of cutting through thicker tiles. They also allow you to cut curves and L shapes into tiles, so that they can be laid around corners.
If you are cutting even larger natural stone tiles, maybe even for outdoor use, such as slabs, or roof tiles, you may need a larger 1000mm electric tile saw. These tile cutters are essentially a bridge saw mounted on a table. This gives you the power needed to cut through these larger tiles, and provides a much safer way of cutting these tiles than using a freehand electric saw.
Plan the job in advance
For the best possible finish, it is important that you plan how you are going to tile the floor or wall surface in advance. This includes understanding the layout of the tiles on the surface, measuring and cutting tiles before you begin the job.
Work out the pattern you want to create – you can even draw it out on paper so that you have something to refer to. Then lay out the tiles in the pattern, taking exact measurements of cuts that will need to be made for the tiles to fit against edges and into corners. Then you can use tile cutters to cut the tiles down to size. Then, before beginning the tiling, check the tiles again to make sure they are the perfect fit.
Knowing the layout of the tiles before you begin makes the rest of the job much easier. The worst thing you could do is make up the layout of the tiles as you go along.
It is also advisable to buy more tiles than you actually need, so that you have spares in case you make a mistake during cutting.
Keep the tiles clean
Keeping your tiles clean throughout the tiling project will ensure the best possible finish. Removing debris and dust will prevent damage to the tiles during cutting and installation, and maintain the high professional standard of the work.
When you first open the packaging, give the tiles a wipe with a damp cloth or sponge to remove any dust or lose tile chips. Then, after cutting the tiles, give them a wipe again to ensure that they are absolutely clean before being installed. You should ensure that the tiles are completely dry before installing them.
Remove any obstacles – including doors, fixtures and appliances
Before beginning the tiling job, you should remove any doors, appliances and fixtures such as light switches, outlet plates, sinks and anything else that could get in the way or become damaged during the job. Removing these obstacles means that you don’t have to work awkwardly around any objects; and it makes cutting the tiles much easier, as you won’t need to do any complicated cuts that are designed to fit around specific objects. Overall, the finish will be much higher quality and much more professional.
Mix adhesive and grout in small batches
Rather than mixing all of the adhesive and grout at once, you should mix it in smaller batches as you work. This makes the adhesive and grout much easier to work with and ensures that it doesn’t all dry out before you use it.
Start tiling at the centre of the surface and work outwards
To begin, you should find the centre of the surface you are tiling and then work outwards from there in small sections. Starting in the middle will ensure that your pattern looks its best and working in small sections will make it easier to work with the adhesive. Also, make sure that you install spacers between the tiles as you lay them. This will help to keep the small gaps between the tiles for the grout consistent across the whole surface.
Notch the tile adhesive
When installing a tile, you should use a small trowel to apply a small lump of adhesive to the surface – enough for just a couple of tiles at once. Then use a notched trowel to spread the layer of adhesive evenly over that section of the surface. The notched trowel will create an even spread of adhesive for the tile to sit on, so that the finish is level and even. You can tell when the correct amount of adhesive has been applied to the surface if, when you use the notched trowel, you hear a scraping sound of the trowel’s notches against the concrete floor.
Check for un-level walls and floors
Your walls and floors may not be exactly level. This could cause an issue with the quality of the finish. You can check for this before you tile the floor or wall surface using a level. If the surface is not level, you can compensate for this by adding or removing adhesive under the tile to correct the problem.
Make sure the adhesive is dry before grouting
Once you have laid the tiles, it is vital that you then wait for the adhesive to dry before applying the grout. It may be tempting to get the job done right away; but if you apply grout between tiles whilst the adhesive is still wet, tiles could move out of place and the finish could be ruined.
Once the adhesive has dried and the tiles are securely fixed in place, you can remove the spacers from between the tiles and apply the grout. You should use a grout float to spread the grout over the tiles and into the grout gaps in smooth, diagonal motions over the tiles. Grouting this way, instead of in straight horizontal or vertical lines, will help you get an even finish.
Once the whole surface has been grouted, leave it around 15 minutes before using a sponge to wipe down the excess grout from the surface of the tiles. Wipe at a 45 degree angle to the grout gaps to prevent removing too much grout from the gaps. Then wait another 15 minutes and use a grout profiling tool to scrape down the grout lines, making the grout flush against the tiles. This removes any excess grout and gives the perfect professional finish. You may then need to wipe the tiles down another time to ensure that any excess grout is removed from the surface of the tiles.
More information on tiling
For more information and advice on tiling a wall or floor, speak to our friendly hire team via email, telephone or online live chat. We have a range of tile cutting equipment for hire nationwide to help you get the best possible finish to your tiling job. Simply take a look at our website or speak to our hire team to find out more!


